Canning BBQ Ribs is a great way to preserve delicious, tender ribs for later use. The process involves cooking the ribs, canning them, and storing them for future meals. Keep in mind that canning meat requires a pressure canner for safety and to ensure the food is properly preserved. Here’s a simple guide for Canning BBQ Ribs.
Canned BBQ Ribs Recipe
Ingredients:
- 4-6 pounds of baby back ribs or spare ribs
- 2 cups BBQ sauce (your favorite brand or homemade)
- 2 tablespoons salt
- 1 tablespoon black pepper
- 1 tablespoon garlic powder
- 1 tablespoon onion powder
- 1 teaspoon smoked paprika (optional, for added flavor)
- 1 tablespoon olive oil (for browning, optional)
Equipment:
- Pressure canner
- Pint or quart canning jars with lids and rings
- Tongs or jar lifter
- Ladle for sauce
Instructions:
1. Prepare the Ribs:
- Trim the ribs to fit your jars. You can cut the ribs into smaller pieces, about 2-3 rib sections each, depending on the size of your jars.
- Remove the silver skin (the thin membrane) from the ribs for better texture and flavor.
2. Cook the Ribs:
- Preheat your oven to 300°F (150°C).
- Season the ribs with salt, pepper, garlic powder, onion powder, and smoked paprika.
- If you like, you can brown the ribs in a skillet with a bit of olive oil to add flavor, but this step is optional.
- Place the ribs on a baking sheet and cover with foil. Bake in the oven for about 2-3 hours until the ribs are tender but not falling apart.
Alternatively, you can grill the ribs over medium heat until cooked through, but the oven method is generally more consistent for canning.
3. Prepare the Jars:
- While the ribs are cooking, sterilize your jars. You can do this by placing the jars in the dishwasher or boiling them in a large pot of water for 10 minutes.
- Keep the lids in hot water to soften the rubber seal, but don’t boil them.
4. Pack the Jars:
- Once the ribs are cooked, cut them into pieces if necessary so they fit in your jars.
- Pack the ribs tightly into the sterilized jars. Leave about 1-inch of headspace at the top of the jar.
- Pour your BBQ sauce over the ribs in the jar, making sure the ribs are well coated and covered by the sauce, leaving about 1 inch of headspace.
5. Seal the Jars:
- Wipe the rims of the jars with a clean cloth to remove any sauce or residue.
- Place the hot lids on the jars and screw on the metal rings until they are fingertip tight (don’t over-tighten).
6. Pressure Can the Ribs:
- Load the jars into the pressure canner and add water to the canner according to the manufacturer’s instructions.
- Process the jars at 10-11 pounds of pressure for 75 minutes for pint jars and 90 minutes for quart jars. The processing time may vary depending on your altitude, so check your pressure canner’s guidelines for your specific location.
- Once the time is up, turn off the heat and let the pressure canner depressurize naturally before opening the lid.
7. Cool and Store:
- Carefully remove the jars from the pressure canner using tongs or a jar lifter.
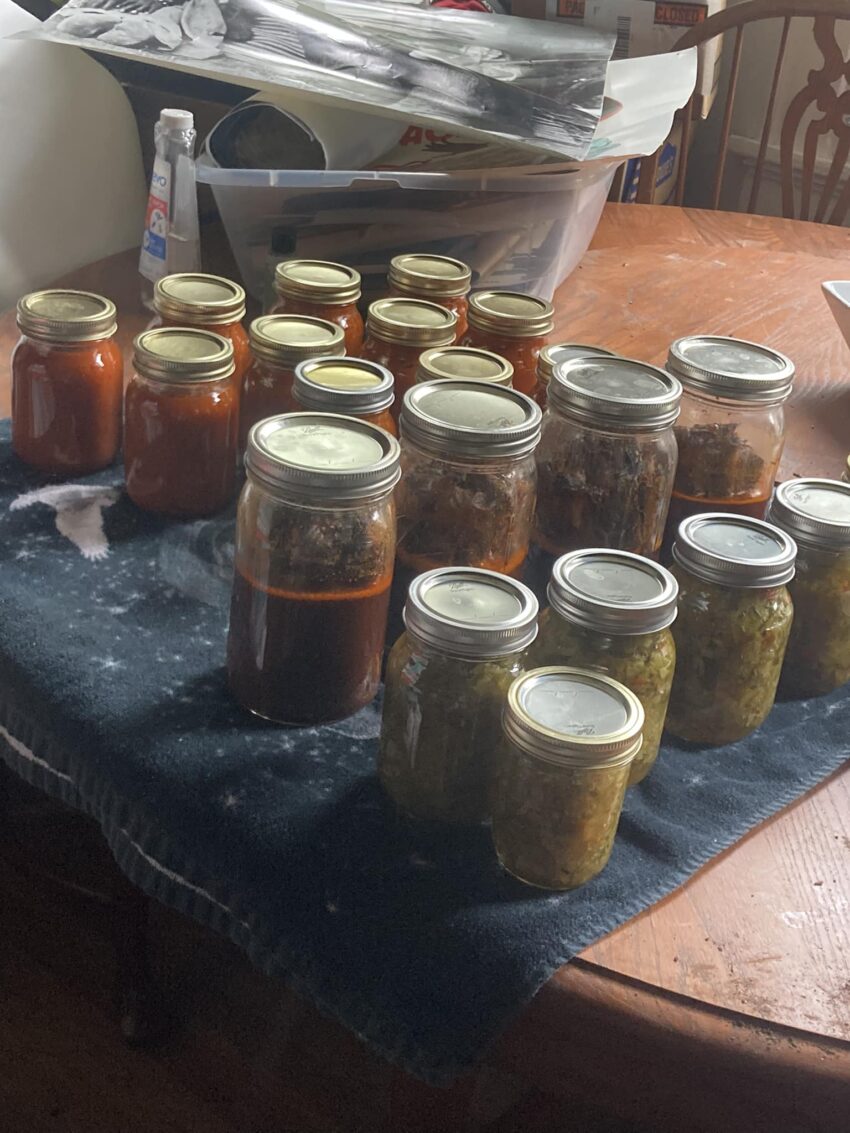
- Let the jars cool completely on a clean towel or cooling rack. You should hear a “pop” sound as the jars seal.
- Check that the jars have sealed properly by pressing on the center of the lid. If it doesn’t pop back, the jar has sealed.
Label your jars with the date and store them in a cool, dark place. Canned BBQ ribs should last up to 1 year.
Tips:
- Use a Pressure Canner: A pressure canner is a must when canning meat. This ensures the food reaches a high enough temperature to be safe for storage.
- Customize the BBQ Sauce: You can adjust the BBQ sauce to your liking, whether you prefer a sweet, smoky, or tangy flavor. Make sure the sauce is thick enough to coat the ribs and not be too watery.
- Taste Test: If you’re unsure about how the ribs will taste after canning, you can test a jar before doing a full batch.
Canning BBQ ribs is an excellent way to preserve this tasty dish for easy, future meals. When you’re ready to eat, just open the jar, heat the ribs, and enjoy a delicious BBQ meal in no time!